
Begin with the correct finger and a realistic level of precision
You can check ring size at home using a well-fitting ring's inside diameter or a properly calibrated ring sizer. Treat the result as a practical estimate, especially when the new band is much wider, the readings disagree, or getting the ring over the knuckle is difficult. A jeweler's fitting is the better next step when those factors matter.
Write down the intended hand and finger before measuring. A ring that fits one finger is not an automatic reference for another, and the matching finger on the opposite hand may differ. Choose a normal, comfortable measuring situation rather than trying to capture the smallest possible reading.
Your result should contain more than “size 7.” Keep the sizing system, measuring method, and reference band width beside the number. Those details explain whether a later comparison is meaningful.
Use an existing ring as a physical reference
Select a ring that fits the intended finger and is reasonably comparable to the new design. A round, closed band is easier to measure consistently than an open, distorted, or strongly irregular shape. Do not use an adjustable ring that changes shape while being handled as though it were a fixed measuring gauge.
Place the ring flat and measure straight across its interior, from inner edge to inner edge through the center. Do not include the metal on either side. Repeat in a second direction. If the measurements differ noticeably, the opening may not be round or the ruler may not have crossed the center.
Match the measured inside diameter to the relevant size chart. Avoid creating extra precision that the ruler cannot support. A coarse ruler can give a useful approximate diameter, but it may not reliably distinguish close fractional sizes. Keep the raw millimeter reading so a jeweler or seller can see what produced your estimate.
Check the scale before trusting a printed guide
A printable ring chart only works at its intended scale. Print using the provider's instructions, typically actual size rather than fit-to-page, and verify its calibration mark against a physical ruler. Do this after printing; choosing a setting does not prove the printer produced the correct result.
For example, if a chart's reference line is supposed to measure 50 millimeters but your print measures 47.5, the page is five percent smaller than intended. Every size circle is affected. Do not compensate by guessing the next larger printed circle. Correct the scale and print again.
When comparing an existing ring to a printed circle, align the ring's inside edge with the boundary specified by that guide. The outside edge includes the band and gives a different measurement. A circle displayed on a phone or computer is not life-size unless the specific tool has been calibrated correctly.
Use a ring sizer rather than treating string as a final answer
A purpose-made sizing tool can help you assess the finger and the passage over the knuckle. Follow its instructions and note whether it is a narrow flexible loop or a set of rigid finger gauges. Tool design matters when comparing the result with a broad statement band.
Online advice about paper and string differs. Some retailers present them as convenient measuring methods; GIA's ring-size guidance warns that stretching, curling, and knuckle differences can make them inaccurate. Do not treat a strip wrapped around the finger base as a precise substitute for professional gauges.
If you already have a paper or string estimate, keep it as supporting information rather than discarding it or treating it as authoritative. Compare it with a fitting ring or proper sizer. A disagreement is a reason to investigate the method, not average the numbers until they produce an appealing size.
Keep a two-method consistency log
| Entry | What to note |
|---|---|
| Target | Hand, finger, intended band width |
| Reference-ring check | Inside diameter, ruler resolution, band shape, known fit |
| Sizer check | Tool type, reading, calibration if printed, knuckle passage |
| Repeat | Reading after removing and repositioning the tool |
| Conclusion | Consistent estimate or professional fitting needed |
Suppose your existing narrow ring and a narrow sizer agree, but you are considering a much wider band. The agreement supports your narrow-band reference, not an automatic wide-band size. A jeweler can use a more comparable gauge instead of applying a universal half-size rule.
Seek an in-person measurement when results remain inconsistent, the knuckle and finger base create competing fit requirements, the design has an unusual interior, or a costly purchase leaves little room for error. Do not assume the chosen ring can be resized later; that depends on its construction and the service available.
Connect the estimate to the exact listing option

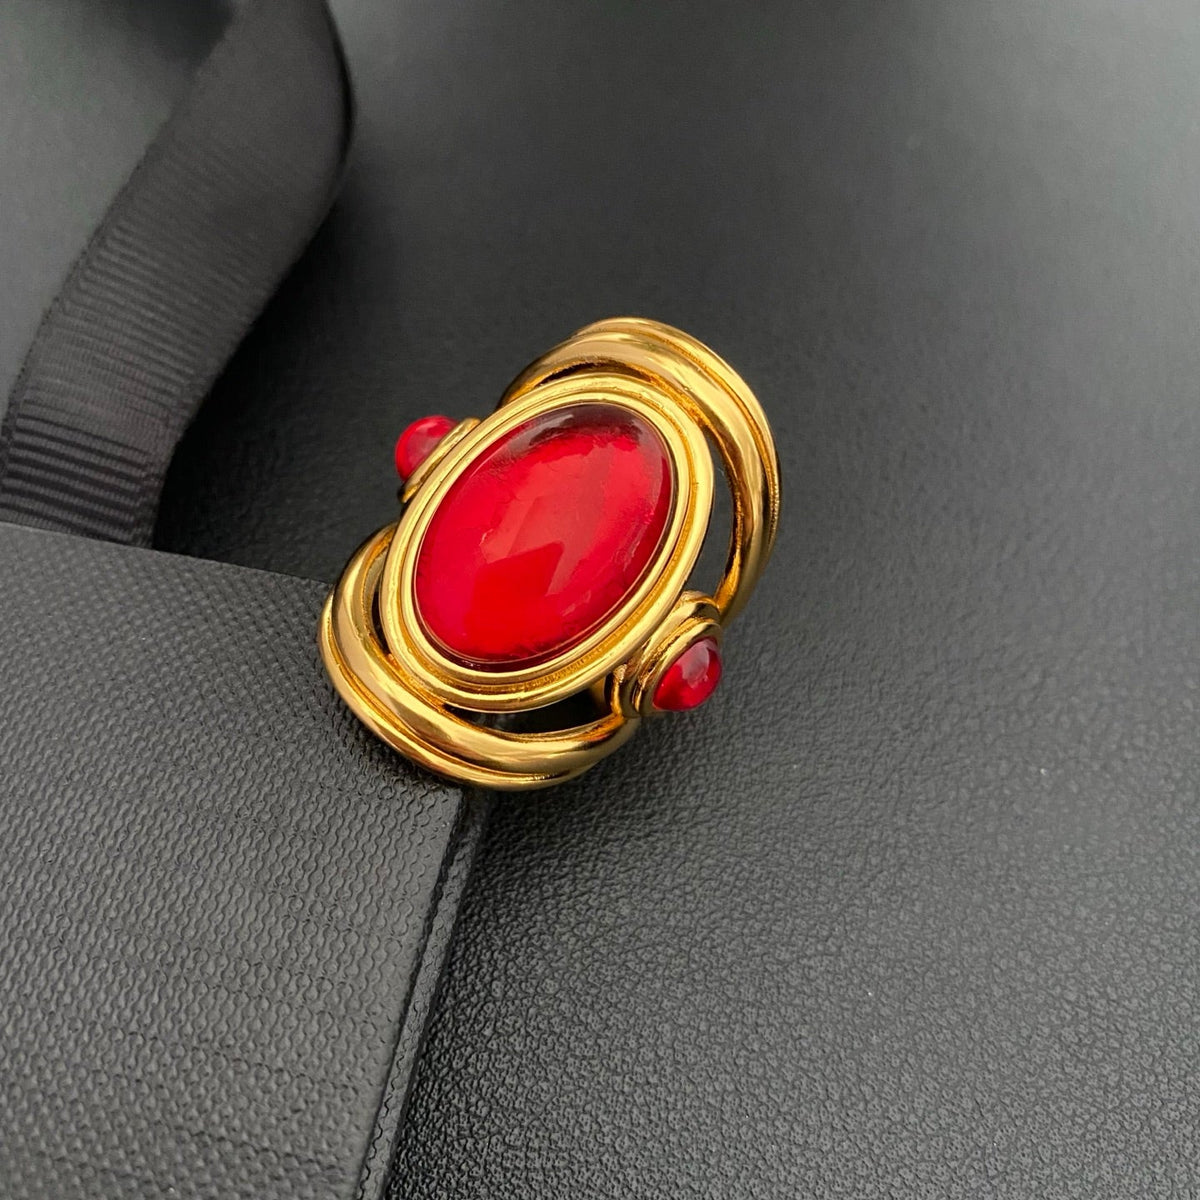
The reviewed RJC record includes a size 7 option, but a numbered option still needs the intended sizing system and product-specific fit context. The front photograph describes the red-accent design; it does not measure the interior of the selected ring.
While comparing the ring collection, retain the option name alongside your consistency log. For an unresolved fit detail, share the measurement and method rather than only a guessed size. After that physical decision, the Journal offers ideas for making a statement ring part of an outfit. Accurate shopping starts by recognizing what a home measurement can—and cannot—establish.