
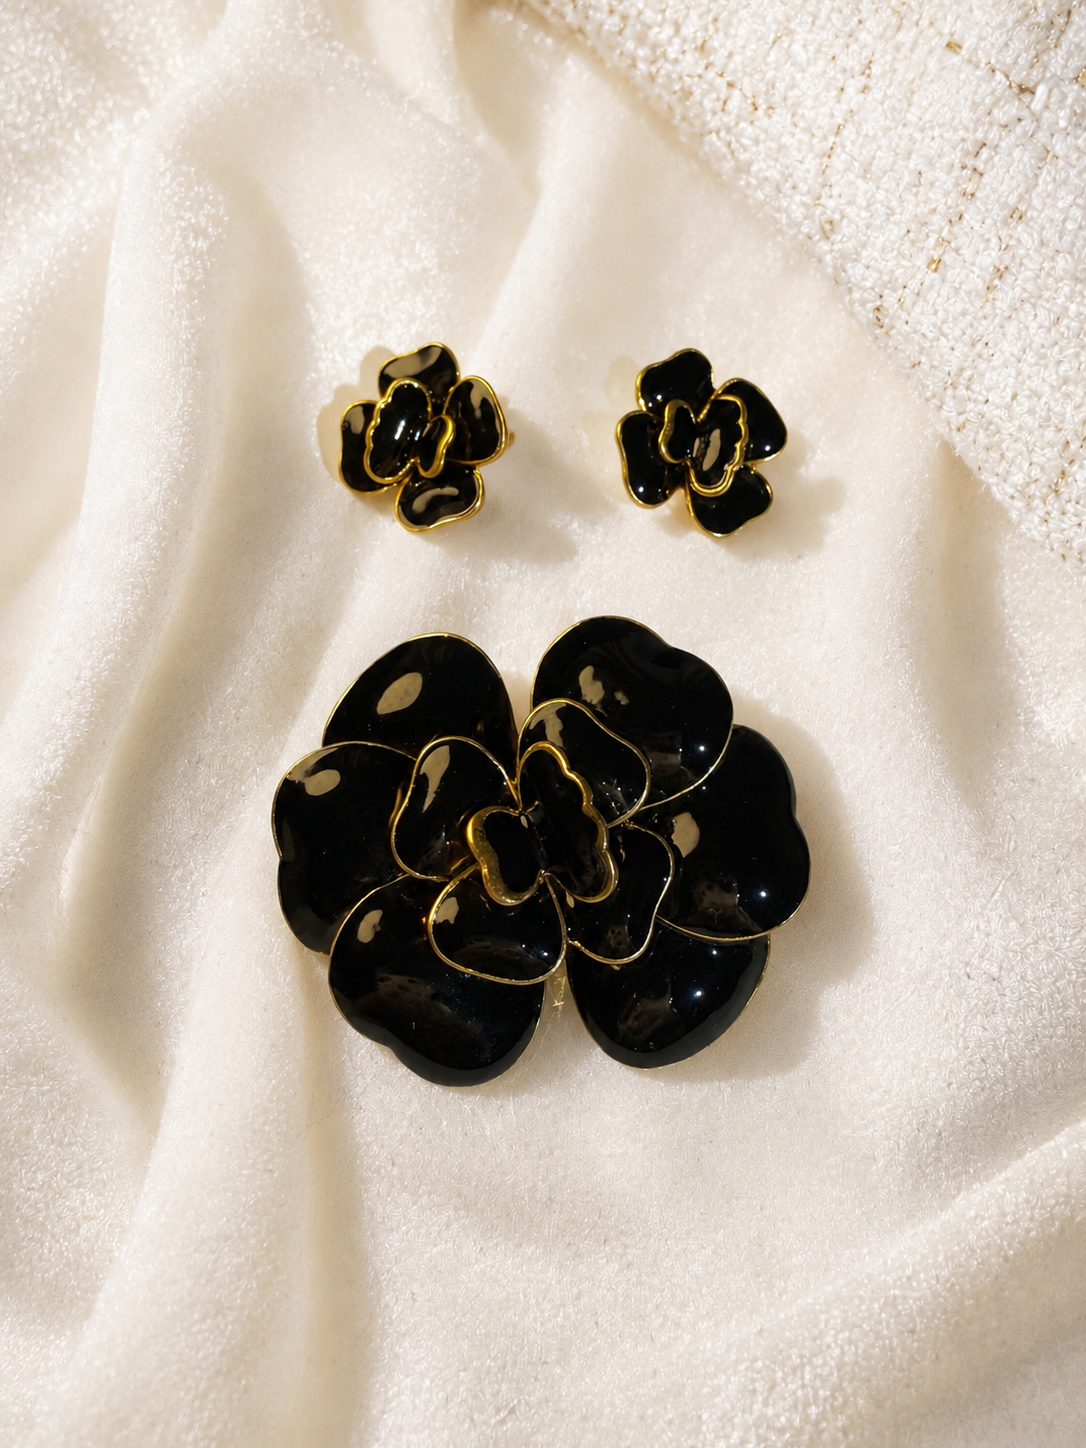
For a presentation, choose jewelry after you know how your voice will be amplified. A lavalier on the chest, a headworn microphone and a handheld microphone create different contact points. The useful question is whether the complete setup lets you speak and gesture normally without jewelry touching the equipment or adding unwanted sound.
Ask for the microphone arrangement early
Send the organizer a short question: “Will I use a handheld, a clothing-mounted microphone or a headworn mic, and when can we do a sound check?” Include whether you will sit on a panel, walk around or demonstrate something with your hands. Do not assume the equipment used by the previous speaker will be yours.
Shure's presenter guidance specifically warns that long necklaces can contact a lavalier. This is an equipment interaction, not a rule that expressive jewelry is unprofessional.
Make a contact map for your microphone type
| Equipment | Jewelry area to discuss | Action worth including |
|---|---|---|
| Clothing-mounted lavalier | Necklace, pendant or nearby brooch | Turn toward a panelist, then return to the audience. |
| Headworn microphone | Earrings near the ear support or boom | Turn the head and speak as you normally would. |
| Handheld microphone | Rings and bracelets near the grip | Pick up, hold and hand back the microphone. |
| Lectern microphone | Wristwear near the lectern surface | Turn a page or operate the presentation control. |
These are observation prompts, not instructions to relocate a microphone. Let the technician determine the working placement, cable route and bodypack attachment. Sennheiser's presentation guide explains why clothing contact can become audible and why a lavalier should not be converted into a handheld during use.
Rehearse a passage, not a single hello
Use a short section that represents the talk: a normal sentence, an emphatic gesture, a turn toward a screen and, if relevant, sitting down. Ask the technician to listen while you make those ordinary movements. A silent pose does not reproduce the way a necklace moves during an animated answer.
If a contact is observed, change one optional item and repeat that passage. Removing a necklace can be simpler than trying to immobilize it. Do not tape ornaments to equipment, bend a headset support or reroute a cable yourself to preserve a look.
Prepare a realistic alternative
The black flower brooch and stud-earrings set illustrates a choice between placements. The earrings alone might leave the chest available for the agreed microphone position. With a headworn mic, they still need their own contact check. No product photograph establishes clearance.

The TEDx production guidance includes testing microphones for individual speakers and addressing noisy jewelry. Bring the alternative before the check; changing accessories afterward creates a setup the technician has not heard.
Leave the technician with one clear note
A useful handover says, “This is the jewelry I will wear. I turn left during questions and use this hand for the remote. Please listen for contact during that sequence.” If an accessory is removed, keep it off until your microphone is disconnected or the technician confirms the changed arrangement.
A portrait uses a different evidence test. The professional headshot guide handles framing and still images; it cannot establish live sound. Browse the earrings collection for an optional alternative, with the microphone arrangement treated as a real requirement.