
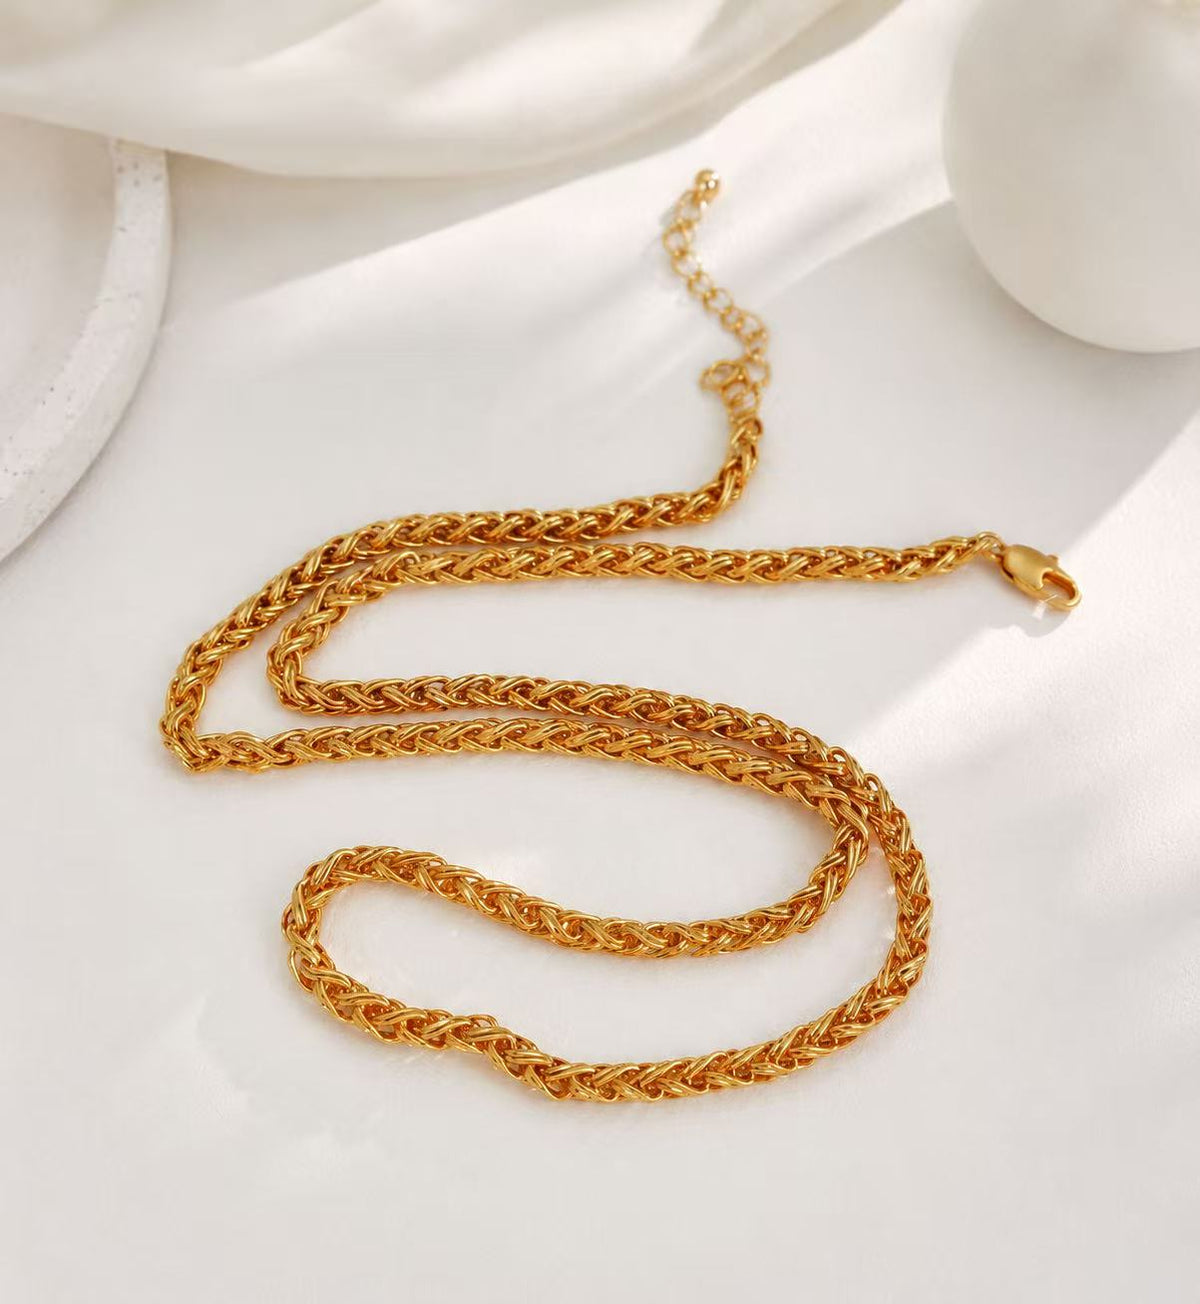
Test the exact necklace combination you plan to wear
Two necklaces can look separated while you stand still and still cross, rotate, or pull together once you move. The useful question is therefore not whether layered necklaces can tangle. It is whether this exact combination stays reasonably organized through the movements, neckline, and attachment method you expect to use.
Begin with only two necklaces. Record the length setting, pendant position, chain texture, clasp type, and any extender or layering connector. If one necklace has several fastening loops, name the loop you used rather than writing only “adjustable.” A change of one loop can move a pendant or clasp into the other necklace’s path.
Measure where each necklace actually rests on you. Published necklace lengths are useful starting points, but body position also depends on the chain, pendant, fastening point, and wearer. If you need a repeatable baseline, first use the separate guide to measure necklace length before buying online. For this test, record the vertical gap between the two lowest resting points while you face forward.
Draw an attachment map before judging the spacing
Make a small diagram with the neck at the center and four possible contact zones: front, sides, nape, and closure. Then mark how each necklace is attached.
- Separate clasps: each necklace can rotate independently, so note where both clasps begin.
- One layering connector: note which chain is attached to each loop and whether the connector sits flat at the nape.
- Prejoined design: note where the branches separate from the shared hardware.
- Extender: note its length setting and whether its free end can reach another chain.
- Pendant or charm: mark its widest point and whether it slides along the chain.
This map prevents a common testing mistake: changing both spacing and attachment at once. Separate necklaces and a prejoined layered design are not mechanically identical. A connector may reduce independent clasp travel, but it does not guarantee that chains or pendants will never cross. Test the finished configuration rather than treating the accessory as proof.
If an extender is part of the setup, confirm that its clasp, ring, and added length work with the intended necklace using the necklace extender compatibility checklist. Compatibility is a prerequisite for the test, not evidence that the layers will remain separated.
Set a starting gap, then inspect the collision paths
Jewelers Mutual recommends varying necklace lengths and trying a two-inch gap between necklaces; Mejuri recommends varying their lengths by at least two inches. Use the length difference as a setup starting point. That input is not automatically a two-inch vertical gap between the pieces as they rest on the body. Keep both fields on the card: the difference between the necklaces' measured end-to-end lengths and the observed vertical gap between their lowest resting points. Treat each as a setup variable rather than a universal pass mark. A long pendant can enter the path of the lower chain even when the chain lengths differ, while two bare chains may behave differently because of their textures and weights.
Lay the necklaces flat before putting them on. Remove any existing twist, fasten each one at the recorded setting, and check three possible collision paths: pendant against chain, clasp against clasp, and chain against chain. Then put them on without crossing the chains behind your neck. Take one front photo and one nape photo if you can do so safely, or ask someone to confirm the starting positions.

A textured chain can be one variable in a layered combination, but appearance alone does not predict how it will move against another piece. Browse the necklace collection by recording each candidate’s documented construction and available length information, not by assuming a product photograph proves stability.
Run the ten-minute movement test
Create a decision card with five rows: movement, front result, nape result, reset needed, and failure location. Keep the same top or dress you plan to wear, because a neckline or collar can redirect a chain. Start a ten-minute test and perform the following sequence at a normal pace:
- Stand still for one minute and confirm the photographed starting gap.
- Turn your head left and right five times, then look down and forward five times.
- Walk for two minutes, including one normal turn in each direction.
- Sit, stand, and reach forward as you would at a desk or table.
- Put on and remove the outer layer you expect to wear, stopping if it catches either necklace.
- Finish the remaining time with ordinary conversation and hand movement without manually separating the chains.
After each stage, record what changed before resetting anything. “Tangled” is too broad to diagnose. Write observations such as “upper pendant crossed the lower chain after looking down,” “both clasps migrated to the right side,” or “extender tail caught the second clasp.” Do not count a chain as stable merely because it returned to place after you adjusted it.
Change one variable when the pairing fails
Use the failure location to choose one controlled retest. If the pendants collide at the front, move the clasp to an intended adjustment loop or use a pendant designed to be removed. If chains cross along the side, select another provided length setting or replace only one chain with a compatible item of a different documented texture or profile. If both clasps migrate together, test a compatible connector while keeping the front spacing unchanged. If the extender tail catches another closure, use an intended adjustment loop, reposition the compatible extender as designed, or substitute a compatible shorter extender. Never cut a chain or extender, force a clasp or ring, pry apart hardware, or otherwise modify a piece to create the test condition.
Repeat the same ten-minute sequence after one change. This isolates the useful variable. Adding a third necklace before the two-piece baseline passes makes the source of a twist harder to identify. Once two pieces are stable enough for your planned activity, add a third and record it as a new configuration.
Keep the decision separate from aesthetics. The guide to statement necklaces versus layered necklaces helps choose a visual direction. This test answers a different question: whether a selected layered configuration maintains acceptable spacing during use.
Classify the result without making an anti-tangle promise
End the card with one of three decisions. Choose stable for the tested routine if the pieces stayed separated without manual resets. Choose adjust one variable if one repeatable collision has a clear spacing or attachment change to test. Choose not this pairing for this routine if the pieces repeatedly twist, catch clothing, or require frequent resetting.
Record the date, necklaces, length settings, attachment method, neckline, movement sequence, and result. The conclusion applies only to that configuration and routine. A calm desk test does not establish performance while dancing, traveling, exercising, or wearing a different collar. No connector, extender, chain texture, or spacing rule makes a necklace stack tangle-proof.
The practical outcome is a reproducible decision rather than a styling guess: “These two necklaces remained separated through the recorded ten-minute test at these settings,” or “The upper pendant crossed the lower chain during head movement, so this pairing needs one controlled retest.” That evidence is specific enough to guide the next adjustment without turning a brief test into a guarantee.